|
Flying High With Electric Power!
The Ampeer ON-LINE!
Fly the Future - Fly Electric! |
|---|
Site Table of Contents
| President: | Vice-President: | Secretary-Treasurer: |
| Ken Myers | Richard Utkan | Rick Sawicki |
| 1911 Bradshaw Ct. | 240 Cabinet | 5089 Ledgewood Ct. W. |
| Commerce Twp., MI 48390 | Milford, MI 48381 | Commerce Twp., MI 48382 |
| (248) 669-8124 | (248) 685-1705 | (2480 685-7056 |
 | ||
| Board of Directors: | Board of Directors: | Ampeer Editor |
| David Stacer | Arthur Deane | Ken Myers |
| PO Box 75313 | 21690 Bedford Dr. | 1911 Bradshaw Ct. |
| Salem, MI 48175 | Northville, MI 48167 | Commerce Twp., MI 48390 |
| (313) 318-3288 | (248) 348-2058 | (248) 669-8124 |
| EFO Flying Meeting: Saturday, September 7 Time: 10 a.m.
Place: Midwest RC Society 7 Mile Rd. flying field Everyone with an interest is WELCOME Proof of AMA membership required to fly | ||
| Upcoming CARDS Electric Fly-in Upcoming Event | Some Recent Mistakes I've Made Ken shares some mistakes he's made in getting his aircraft ready for flight |
| The August 2019 EFO Flying Meeting A report on the August Flying Meeting | The February 2018 EFO Meeting Highlights from this meeting |
| A Large Size RES Glider Power System Question Ken discusses a possible power system for a 130" electrically powered glider. | An APC Prop Thrust Question Emeter thrust values for APC props are discussed |
| The March 2018 EFO Meeting The information shared at this meeting | Flew Today With My New Sensei, Disgusting! Ken discusses why one of his students had a disappointing day flying a Sensei |
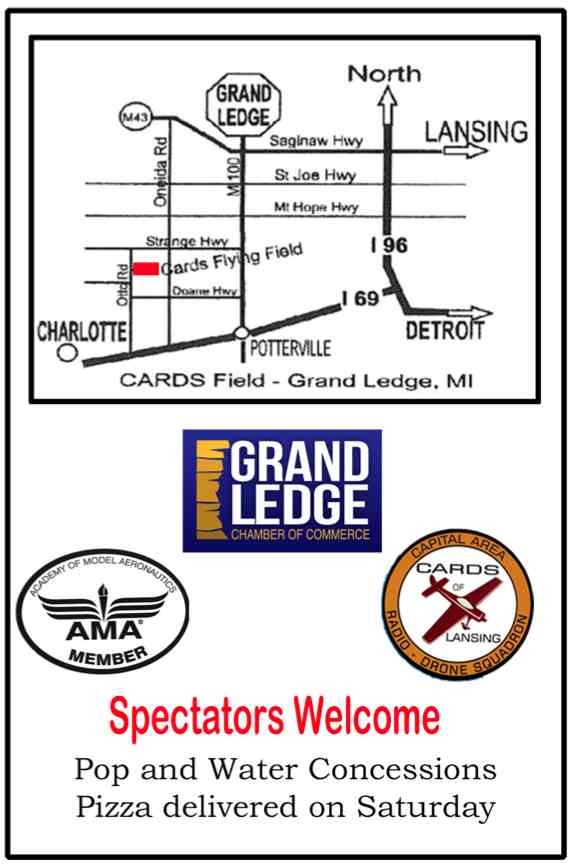
Upcoming Event
When: Friday August 23 4:00 pm - 9:00pm and Saturday August 24 from 9:00 am to 9:00 pm
Landing Fees: $15 (includes Pilot Pizza & Soda ) CD Marv Thomson 517-8027675 or mthomson@wowway.com Website: www.cardsrc.com Address: 8328 Otto Rd, Grand Ledge, Mi 48837 Some Recent Mistakes I've Made
I have been flying R/C and electrically powered RC models for a very long time. Unfortunately, I've recently become too complacent. I did not prepare my RUA-2-4-10 Dollar Tree Foam Board (DTFB) well for the 35th Annual Mid-America electric flies.  I loaded the original prototype RUA to take to the flying field on Friday, July 12, as I planned to fly it after we were done setting up the field for the Mid-Am. The version I'd been flying for the past two years, unfortunately, had an oops with one of my students near the end of the flying season last year and I'd not removed the gear from it to put in another RUA airframe. I'd built a total of nine during the process of improving the airframe and documenting the build. The first small mistake was not attaching the label that I made that has my FAA number printed on it. That wasn't a huge mistake, but I should not have neglected that. How did I forget that? I failed to do a complete bench inspection to see if everything was ready to go with the prototype, as it had not been flown in two years. I just assumed everything was okay. Please learn from my mistakes. Everything was not okay! Once the Mid-Am setup work was completed, I put the prototype RUA up for a flight using a 4S A123 1100mAh pack. The plane flew terribly. I just couldn't believe it, because it is a great, easy to fly plane. It continually wanted to turn to the right, even with full left aileron and rudder trim. It is a three-channel, rudder, elevator and throttle type plane, but I have it set up so that the rudder stick "controls the rudder" on the ground and the "aileron stick in the air". At least that is what I tell my students, even though the aileron stick is actually controlling the rudder. I landed and noticed that the wing and horizontal stabilizer were not in 'perfect' alignment. The prototypes had demonstrated that 'perfect' wasn't necessary, as it was designed for first-time builders, but I shimmed the wing. I also added a lot of left rudder trim. The second flight wasn't any better. I kept having to use the throttle, along with left rudder, to get the plane to turn left. By this time, many of our flying friends had started showing up, so I didn't investigate what was wrong with the airframe, and since I could still fly it safely in the Non-conventional Materials Foam Flurry, planned for Saturday. I just let it go and put it away for the day. I normally fly the RUAs with a 4S 1100mAh A123 pack, but, while prototyping, I'd purchased two Hyperion G5 3S 2100mAh LiPo packs. I designed the front end of the plane to take either pack without much shifting of the pack to keep the CG in the same place. I'd put the Hyperion packs away in their LiPo Sack after setting them at storage charge, which is 3.77V for me. I should note that my basement temperature, during the winter, is usually between 57 degrees F and 59 degrees F. I use an electric heater in my building area and wear a sweatshirt when building. For the all-up-last down type of event that the Foam Flurry is, I brought my LiPo packs back to the field on Saturday morning. I put the first 3S 2100mAh pack on my Revolectrix GT 500 and the charger displayed a voltage warning, letting me know that the voltage didn't 'add up' to what was expected from a 3S pack. "Okay, I thought. I wonder if a wire is loose, or something?" I physically checked the pack and couldn't find anything. Since I had two packs, I put the second pack on charge and got the same message. "What the ???" I put my 4S 1000mAh A123 pack onto the charger, and the charger was working correctly. I grabbed my individual cell voltage checker and connected it to the balance lead. Time for another mistake! I did not record the voltages, so the following voltages are from memory with the letter x representing the missing digits, but I hope you get the point. The first pack read 3.7xxV, 1.4xxV and 3.7xxV. Really? Really? The second pack showed 1.4xxV, 3.7xxV and 1.4xxV. No wonder my charger was giving me a warning. I had used these packs for a couple of years of very light duty in the RUAs with a maximum amp draw of about 19 amps, as I recall. They had never shown any signs of a problem, but they were dead when I took them from storage this year. As I was writing this article, I checked the individual cell voltages for the four 3S 1000mAh LiPo packs, all of different brands, I have for my version of the Flite Test Simple Cub. I found their resting voltages to be; pack 1 - 3.771V, 3.760V, 3.756V, pack 2 - 3.780V, 3.776V, 3.782V, pack 3 - 3.786V, 3.786V, 3.792V and pack 4 - 3.784V, 3.766V, 3.775V. I used the same meter that I had used at the flying field to measure the 3S 1000mAh LiPo cells. All of their voltages were at about my 3.77V storage, as I had expected. Why are some just a bit higher? I could have put them on the discharger I use to bring them to storage level, I may, or may not, have charged or discharged the individual battery at all, because a typical timed flight leaves them about there, and there is always a slight differences between meters. I took the 3S 1000mAh LiPos to the Mid-Am and charged them there, as I was intending to fly my Flite Test Simple Cub. I didn't fly the Cub. I made another mistake when I got home, hot and tired from the Mid-Am on Sunday. I should have taken the voltages of the 3S 1000mAh LiPo packs, but I just wanted to be Ňdone with themÓ, so I put them on my discharger as I unpacked all of the gear and my planes. Darn! Now it is time for a big head slap! As I carried the RUA downstairs I noticed a significant warp in the right horizontal stabilizer and elevator. It was warped down, therefore dragging the tail of the airplane to the right, making turning left very difficult. Because the horizontal stabilizer is so large, and made of quite flimsy material, Dollar Tree Foam Board, I had added a piece of dowel rod between the horizontal stabilizer and elevator and diagonal bracing between the horizontal and vertical stabilizers. It appears that the horizontal stabilizer still managed to warp. I learned, and most likely for the umpteenth time, prepare you aircraft properly beforehand. DonŐt assume anything. Don't try to prepare your aircraft when you have last minute stuff going on. And finally, check all of my LiPo packs when they are in long term storage. I hope my blunders give you some reminders so that you don't face these problems, which ALL could have been avoided. Most importantly, don't do stuff and make decisions about your aircraft if you are hot, tired, feeling stressed or rushed! The August 2019 EFO Flying Meeting
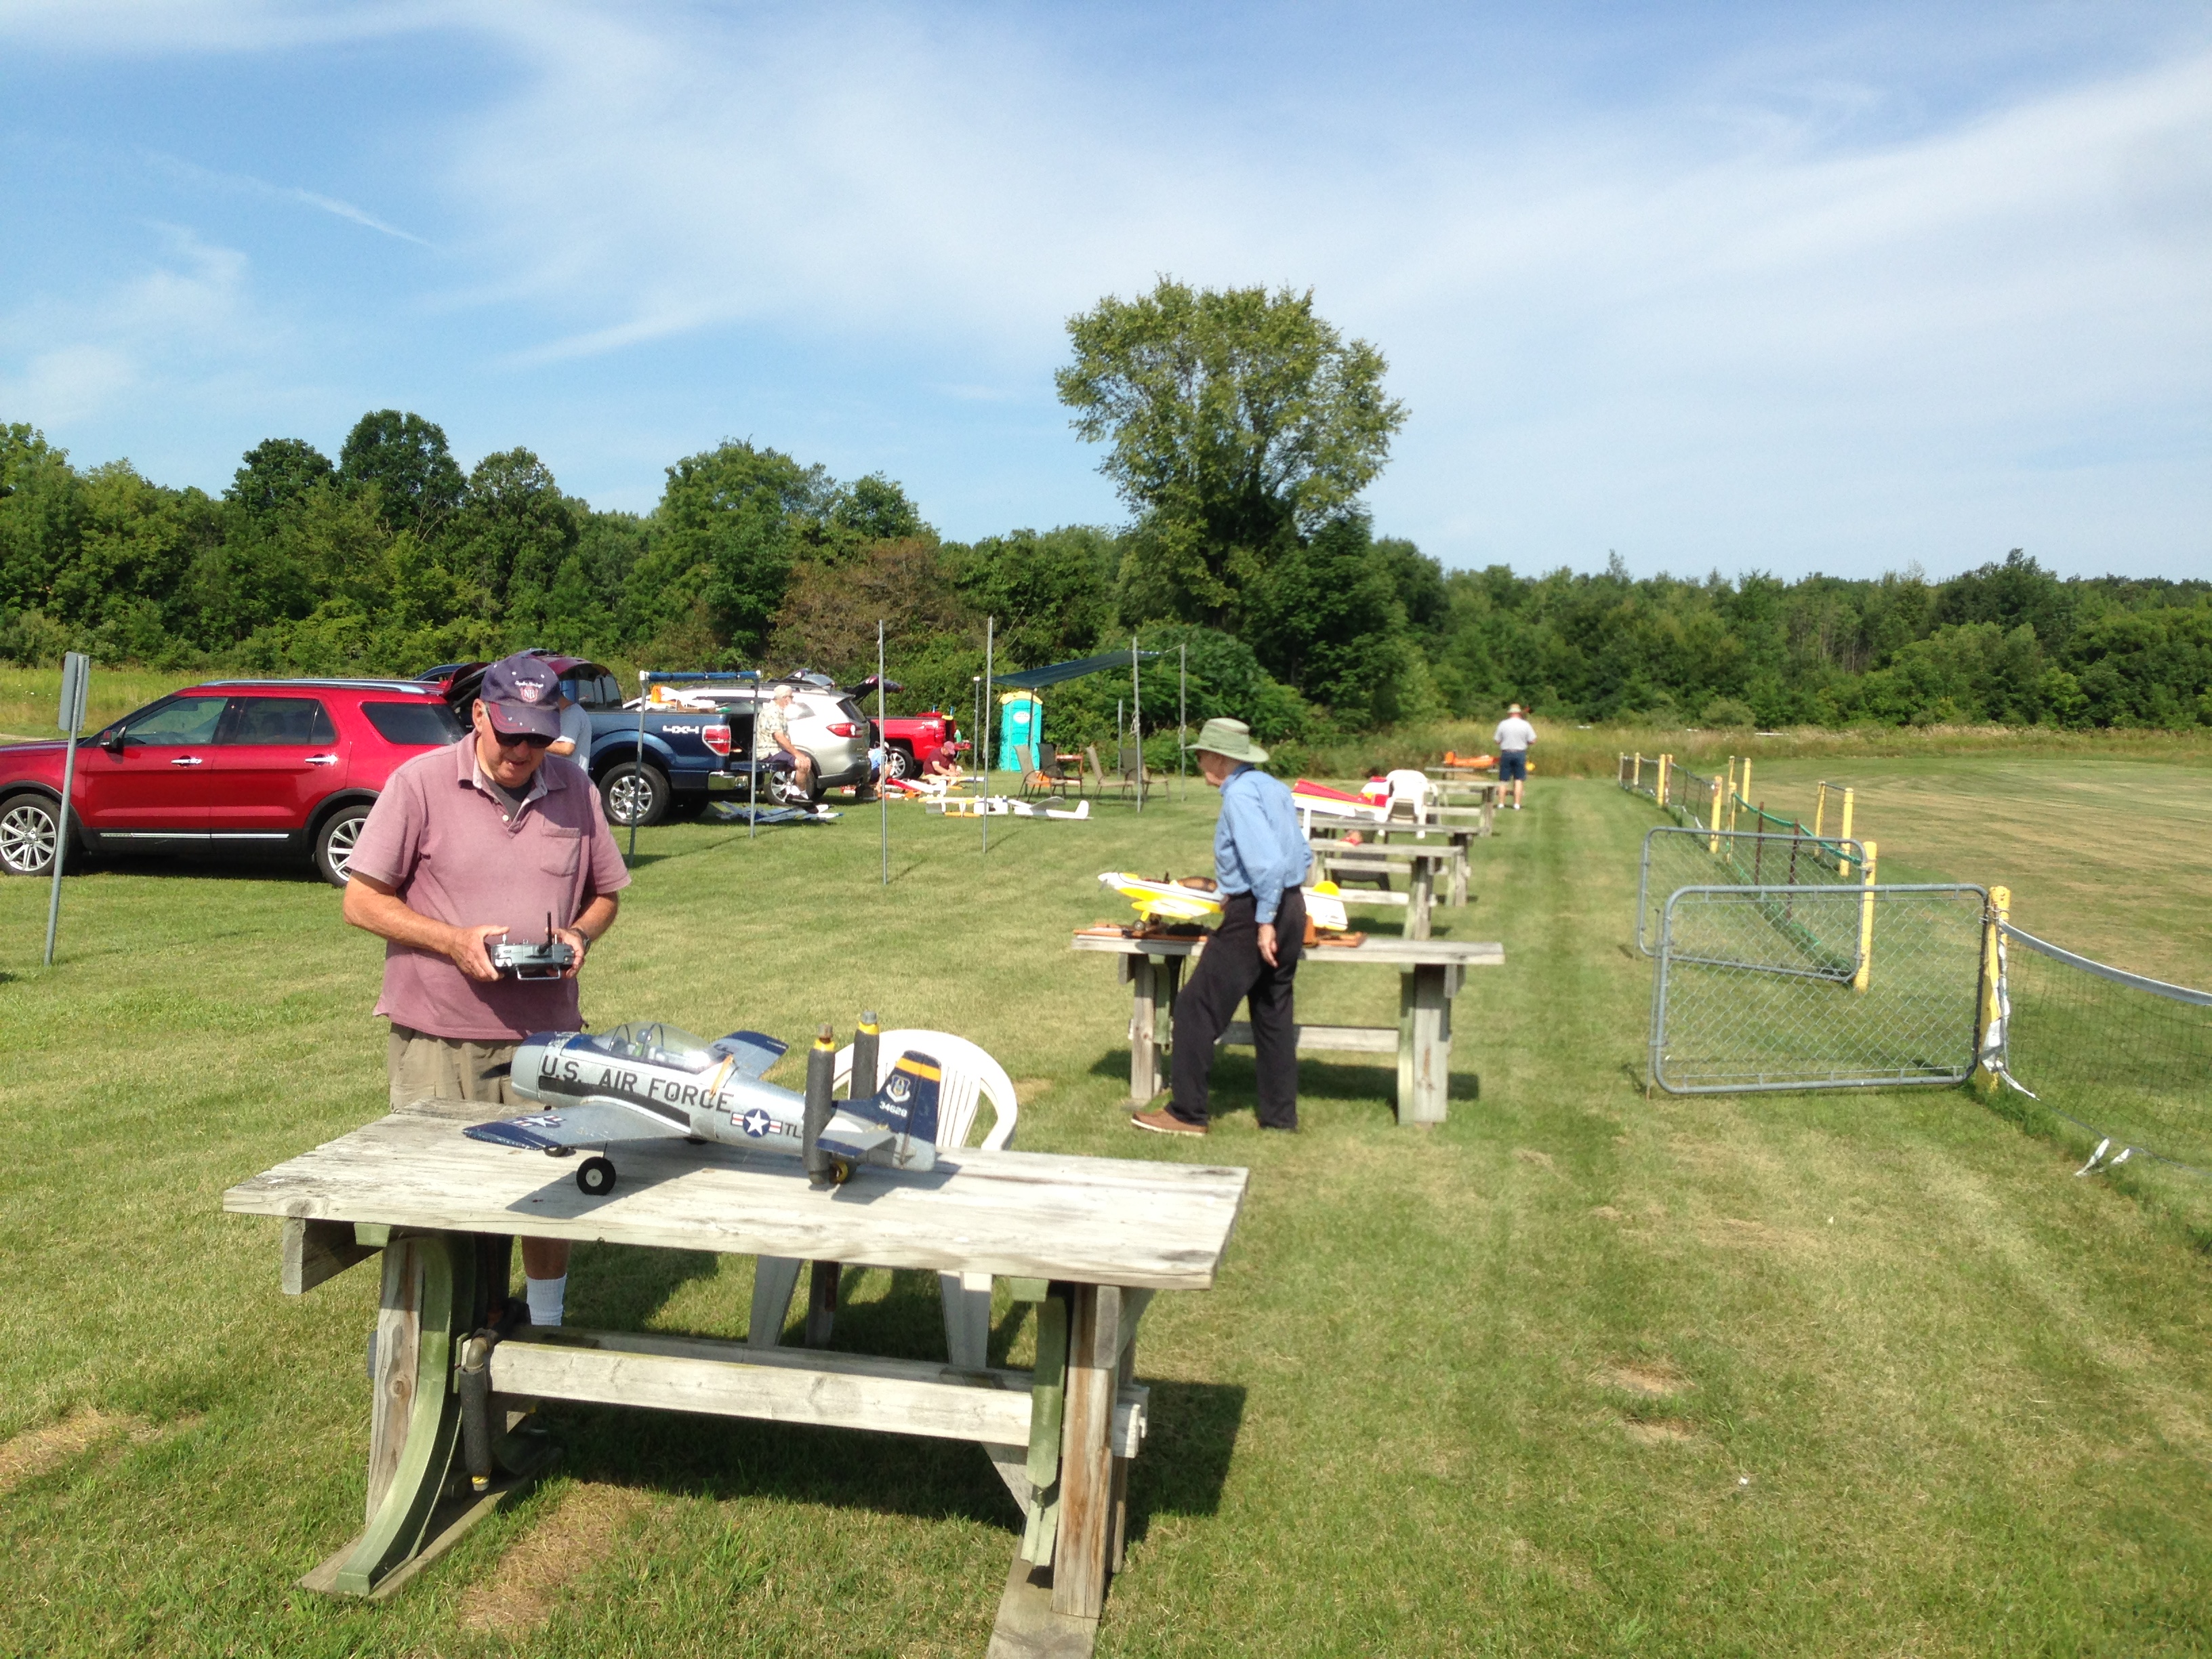
It finally happened. We got some great flying weather on Saturday, August 3. The winds were reasonable and from a decent direction. While the morning was comfortable, it did get up into the mid-80s, with lots of humidity, as the day went on. It was a bit physically uncomfortable later in the day, but everyone enjoyed a great day with friends at the flying field. If you live in the area, we'd love to have you join us for our September 7 meeting at 10 a.m. at the Midwest RC Society flying field. Bring your proof of AMA membership and join in the fun.  The February 2018 EFO Meeting The meeting was held at Ken's house on Wednesday, Feb. 21. It had been postponed from Feb. 14 due to poor parking conditions on Ken's street due to the heavy snow. 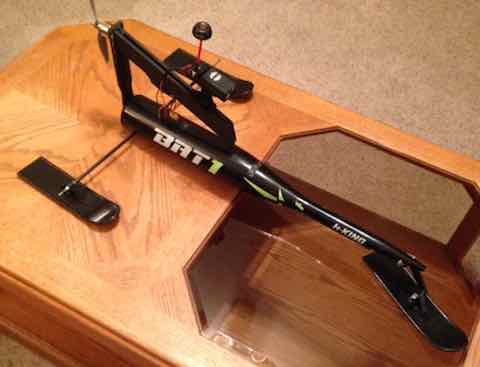 Owen Morgan shared his Hobby King BAT1 FPV. It is a 'land yacht' that comes with wheels and has a FPV camera onboard. He put DuBro skis on it to run it on snow. It is driven while wearing FPV goggles. He shared some video taken with the onboard camera.  He also shared his favorite 'go to' airplanes. It is a Hobby People Waco. The link is to the RTF version. I believe he purchased a PNP version for $99 when it was on sale and in stock. Even though it is favorite, he had to fix a lot of problems with it. The top wing was known to come off very easily, so he fabricated brackets and bolts it on. It has 100+ flights on it to date. The pushrods were extremely poor, so he changed them out for better pushrods. It was quite tail heavy at the recommended center of gravity (CG). He moved the LiPo pack forward by making the landing gear removable and creating a hatch that held the landing gear. The stock motor didn't last long, so he replace that as well. 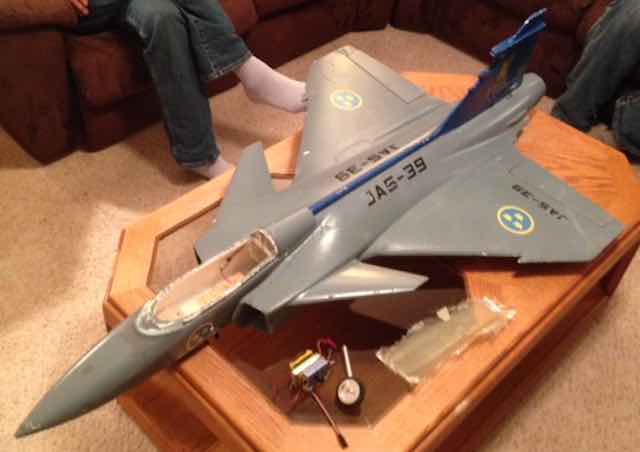 Hank Wildman brought a Gripen EDF jet that he is working on. Unfortunately, the canopy is missing. He plans on using a 90mm fan with a 12S LiPo pack. While discussing the Gripen, we watched a YouTube video of an unfortunate incident involving a 1/2-scale turbine version of this plane. Ken Myers had assigned some homework to the EFO members. He had asked them to print out and measure a .pdf file of a rectangle that he had created. He wanted to use the information to see how a number of different printers handled the .pdf file. Many of the members brought their printed rectangles with them to the meeting. Ken was using the information to verify the .pdf file templates he's creating for his RUA 2-4-10 Dollar Tree Foam Board (DTFB) trainer. An Excel spreadsheet of the results can be downloaded from here. When Ken was discussing the design of his new trainer, he mentioned that it was a 3-channel design with plenty of dihedral. He was asked why he chose a 3-channel when it makes the learner not learn how to use the left stick. He replied that when he sets up a 3-channel plane on a computer style radio, he plugs the rudder servo into the aileron slot of the receiver. He then mixes the aileron to the rudder at 100%. For ground handling he teaches his students to use the left stick (Mode 2 here in the US) and for flying they use the right stick. What Ken found interesting was that some folks didn't know that could be done. Now they do. The members also discussed "The Power of Two". Several folks noted that when you have two of something, the first one usually lasts a long, long time. 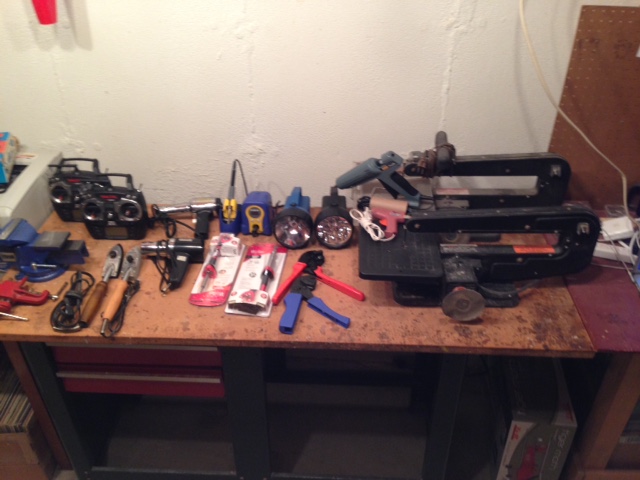 Ken shared a photo of just some of the 'twos' he has that are related to his modeling in some way. He really believes in it. Ken's new trainer design is based on the philosophy of the power of two, since two complete airframes are to be built at one time. Ken also showed his new 'table saw'. He asked for it for Christmas, since he only had his trusty, old Dremel Table saw. Now he has two table saws. Ah, the power of two. 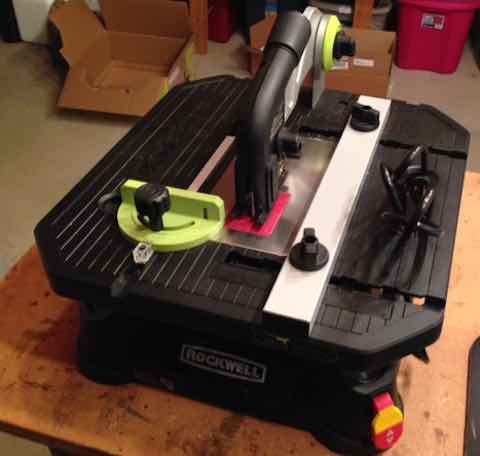 His new table saw is a Rockwell Blade Runner X2. It is not a true circular saw table saw. It is an inverted jig saw that uses standard T-shank jig saw blades. It works good enough to cut the 'square' parts that he needs for modeling. Before breaking for our evening snacks, we watched a video about the new home and destination for Flite Test. Josh Bixler has huge plans, that seem to be coming true. He has tens of thousands of followers on YouTube. We wish him the very, very best with his project! Return to "What's In This Issue" A Large Size RES Glider Power System Question
Good day, I live in South Africa and have a 3.3m RES glider which I want to convert to electric flight. It weighs 2.4 kg including servos and looks as if it could accept a motor up to 40 mm diameter. What would be your recommendation for the motor, ESC, prop and LiPo pack? I had the following recommendation from an online hobby shop in South Africa but I would like other opinions. Emax 2820/05 1180kv 2kgs thrust
Regards,
Dec. 28, 2018
That is a relatively large wingspan (130") and weight 5.3 lb. (85 ounces) without motor, ESC and battery, for what looks like a 3S LiPo recommendation by the motor's Kv. The motor they recommended weighs about 140g. To me, the prop seems extremely small for a 3 meter glider. I ran the numbers in Drive-Calc for a similar motor by weight and Kv using a 3S LiPo voltage of 12V (that's the high end) and an 11x6 folding prop. I could not get any data to show up as that similar motor was way over-amped. Drive-Calc is free and found here. To find something that might work better for your application, I changed the prop to a 13x6.5 folder and used a 4S pack (at 16V) to find a suitable Kv using Drive calculator. It showed a 253g motor with a Kv of about 750 would yield just over 600 watt in. That should be okay for your big glider, but it won't climb like a rocket. A specific motor that fits the weight and Kv is the Cobra C-3525/10, wt. 253g, Kv 780, outside diameter 43mm, maximum continuous amps 62. A 50/55 amp ESC would work. That motor may or may not be available to you in South Africa, but look for a similar one in weight, Kv and diameter and it should work. Later,
PS Did I ever tell you that my son-in-law grew up on South Africa from the time he was four until he was 18? Dec. 28, 2018
Thanks very much for looking at this. I will have a look at drivecalc.de. Regards,
An APC Prop Thrust Question
Dear Ken, My name is Lou Amadio and I have been flying electric powered model aeroplanes since the days of Speed 400 and NiCd cells. I live in Wollongong, on the east coast of Australia, close to Sydney. Recently my trusty Emeter 1 died so I ended up purchasing a new Hyperion Emeter 2 plus all the accessories. After reading all the info that I could find, including your articles in Ampeer, I started to test some props. In particular I wanted to see if there was any real difference between APC-E props and the cheap black plastic 'HY' props sold by HobbyKing. My initial tests show that the APC props are indeed more efficient. I used the prop constants that came with the Emeter V2.2 firmware. My email to you concerns the thrust calculated by Emeter 2 vs my own direct thrust measurements, as recorded on a digital scale. They are quite different. APC-E 7x4, EM2 316g, measured 512g thrust
I remember reading in one of your columns that APC changed the design on their E props, so I may not have the correct constants for my props. Is there any way to differentiate the old and new APC-E designs and marry them to the correct constants? Kind regards,
Hi Lou, APC has changed their designs over the years. Unfortunately, they never changed the designation by adding an identifying version number to the prop itself or by changing the part number. I have run into at least three iterations, possibly more by now, for the 'same' prop over a wide range of sizes of mostly the thin electric (E) series props. Phil Connolly, designer of the Hyperion Emeter, and I discussed this via email as far back as 2005. We agreed that the weight and prop hub thickness of the APC E thin electric props could be an identifier between us to be used as a standard reference. Both the power out values and the thrust values use a formula derived by Phil. Actually, there have been several formulas developed by several different folks over the years. All of the formulas provide a value, but they all differ slightly and are only meant to give a repeatable value that may or may not be close to the actual value. I have never built or flown planes that require my knowing anything about the thrust of a prop. I believe that thrust might be a handy reference for 3D and electric EDF folks. My planes 'fly on the wing'. Just knowing the theoretical pitch speed and watts in is what I find helpful in predicting flight performance. If you do find thrust useful, I'd go with your measured values. I have attached some old articles that may or may not be of value to you. Later,
PS August 2019 for Ampeer readers: I cannot share the articles with Ampeer readers as they were published in various model airplane magazine. ou remember the day when there were model airplane magazines, right? The March 2018 EFO Meeting The March 14, 2018 EFO meeting was held at Ken Myers' house. For some reason the turnout was very light for Pi night. 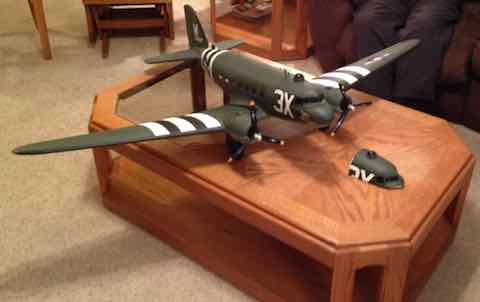 Owen Morgan shared information on his Dynam C-47. It is modeled after the full-scale "That's All Brother". Like all of his models, he just had to modify it. He has two canopies. One for 'normal' flying and one for FPV flying. He felt that there was too much down thrust built into the twin motors. He took some out, and it flies just fine. He did not use the supplied decal invasion stripes. He pained his on. The other graphics were provided by Callie Graphics. The supplied model has a castering tailwheel. He installed a servo to steer the tailwheel. He also added the observation dome on both canopies. He uses counterrotating props. He has lead added to the canopy/hatch for balance. Ken showed the folks the write-up, by Don Belfort, of the NCM info in the Winter 2018 issue of PARKPILOT. It also had a nice photo. Ken showed how he calculated the wing area for his RUA 2-4-10 which doesn't have actual plans containing a wing planform available. Procedure:
Ken suggested using either Adams foam board from Dollar Tree or Ross foam board from Walmart for this method.  He showed several of the planforms he'd cut from paper, poster board and various foam boards while 'perfecting' the procedure. Ken also discussed how disappointed he is that Tower Hobbies might not be around much longer. It is his main source for building supplies. He's also afraid that his Tactic radio system might go away. He shared the yoga mat that he is using as an inexpensive cutting mat. He picked it up at Meijer for about $17, which is a lot less money than an actual cutting mat. He noted that it has been working well for him when cutting out the parts for his prototype RUA 2-4-10s. He mentioned that he'd been looking seriously into the FlySky FS-i6X. That X is important. Search either Google or Amazon to find out the pricing. There is a YouTube video that describes the differences between the i6X and the i6. Flew Today With My New Sensei, Disgusting!
I recently received the following email from one of my student pilots who I had recently signed off as a solo pilot. KM Hi, I flew today with my new Sensei. Disgusting. I tried to go over the plane, getting it ready as you did.ĘI think too many things are going on at once and I could not fly well. So, you got some magic there, you need to share? I had trouble getting it off the ground. Possibly the grass is too high for small wheels. One of the guys spread the back wheels to get rear of airplane down. I used only fully charged batteries. Finally, I did fly it about 6 times. When I got home I put on a larger front wheel, put more black stripping on the bottom of the wing, as had a hard time seeing plane orientation and reset front wheel to go straight on take off. I hope to fly tomorrow. Ken responds: The Flyzone Sensei, that the former student pilot had soloed on, "disappeared" on a flight a few days after he was soloed. This is not unusual. Many newly soloed pilots have an oops shortly after soloing when flying on their own. The Flyzone Sensei is set up from the factory to use a Tactic brand radio. A Spektrum brand radio system, transmitter and receiver, was used in his Sensei with the WISE Gyro removed. The Spektrum brand receiver was the type that had no built-in gyro. In my opinion, a gyro is not necessary when being trained by a qualified RC flight instructor, so that was not a problem. I flew the plane for the first time. It was quite a bit out of trim. I have flown several other Sensei trainers, and they were not out of trim as badly as this one. Field adjustments were made to the trim mechanically. The nose wheel was adjusted to run a bit straighter. I discussed the trim 'problem' while at the field with the Midwest RC president, Roger Wilfong. I thought that changing the radio brand might change the neutral point of the servos. He concurred. After returning home, I posted a question about this on RC Groups. The thread is named, "Changed radio brands - trim changed on plane". Andy Kunz responded, "Not all receivers output the same center position." He also continued with a more detailed explanation. The following day I took the tools I use to set up an initial trim to neutral to the flying field and set up the mechanical trims to as close to neutral as possible. The plane flew much better with only a couple of clicks of trim. The nose wheel was still a bit off. I told the student to find a hard surface, like a concrete or asphalt driveway, that was on a slant. With the wing and propeller off, but the radio system turned on, push the plane down the slant several times and start adjusting the nose wheel until the plane would run down the slant as straight as possible with no transmitter inputs. For several reasons, the Sensei has a fairly long takeoff run. The flying field is grass. The grass is mowed on Wednesday. The flight was on Sunday. The weather between Wednesday and Sunday included rain, high humidity and lots of sunshine. The grass was thick and lush, which is not an ideal takeoff surface for a tricycle landing gear type plane. The Sensei has plenty of power for flying, but pulling it out of the lush grass can be problematic. That Sunday, the newly soloed pilot chose to fly when the air temperature was over 95 degrees F, dew point approaching 70 and the winds fairly high. I believe that a major factor, contributing to the "disgusting" flying was density altitude. The first two statements on the Aircraft Owners and Pilots Association Web site most likely applied here. "What Is Density Altitude?
"How Will High Density Altitude Affect Flight?
Spreading out the back set of wheels on the trike geared plane sets the angle of attack (AOA) of the wing higher. That can help, but it can also lead to some interesting landings. Putting on a larger diameter nose wheel, also makes the same change. In general, changing all of the wheels to a larger diameter does help on a grass flying field. Unfortunately, when flying a trike geared plane off a grass flying field, until the plane starts to Ôget upŐ on the wing, the nose gear is plowing through the grass, slowing the plane. The Sensei is a delightful trainer plane to fly. I believe that its flights turned out 'disgusting', on that particular Sunday due to a perfect storm of contributing factors; low time solo pilot, long thick grass, too much wind from the wrong direction for a maiden flight of a new airframe, the plane not being well trimmed to the new receiver neutral on the servos and an extremely high density altitude. To Reach Ken Myers, you can land mail to the address at the top of the page. My E-mail address is: KMyersEFO@theampeer.org |